
Quick way to mount a tach in your 70-72 Buick GS/Skylark
Here is a (trashed) dash showing the blanking plate on the cars that had no clock or tach. These are very common and usually thrown away. However, they make a very good mounting system for the VDO style of tach. I will show you how I did it here...in my case it is temporary while I get the factory tach repaired, but certainly makes an inexpensive option if you need a tach (75.00 at JEGS).
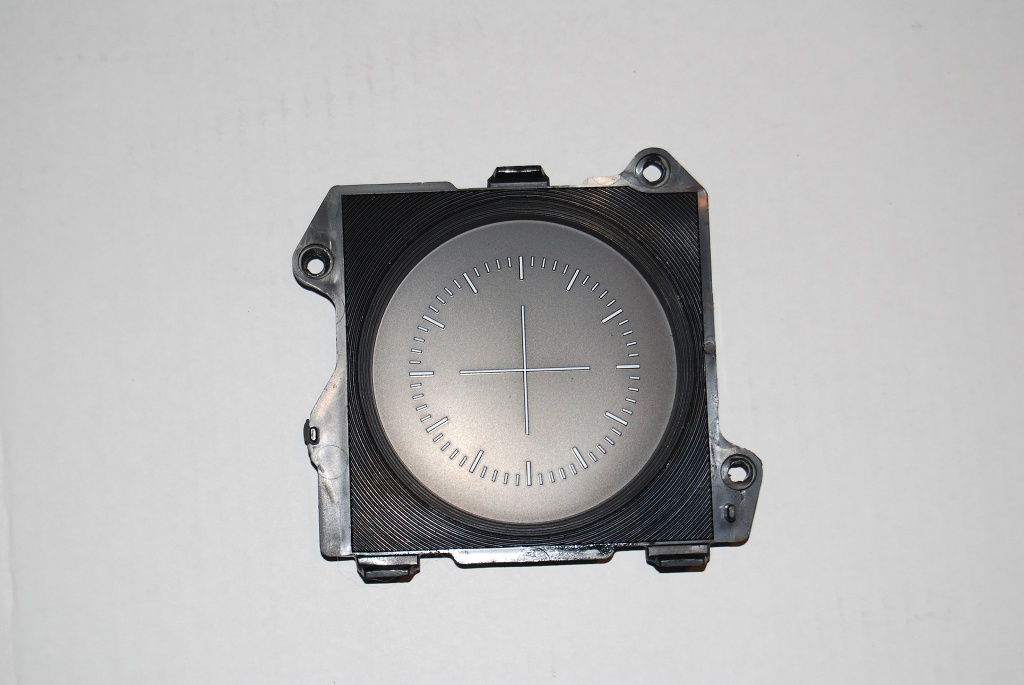
Here is the blanking plate removed showing the mounting points. Nice of them to give you a crosshair for the drill bit!
Using a holesaw, remove the center part of the blanking plate. Don't worry about being perfectly centered, but be careful not to hurt the face surface that will remain visible under the lens. Once you have cut it out, file away the remaining edges until the tach fits through. No need to be fussy.

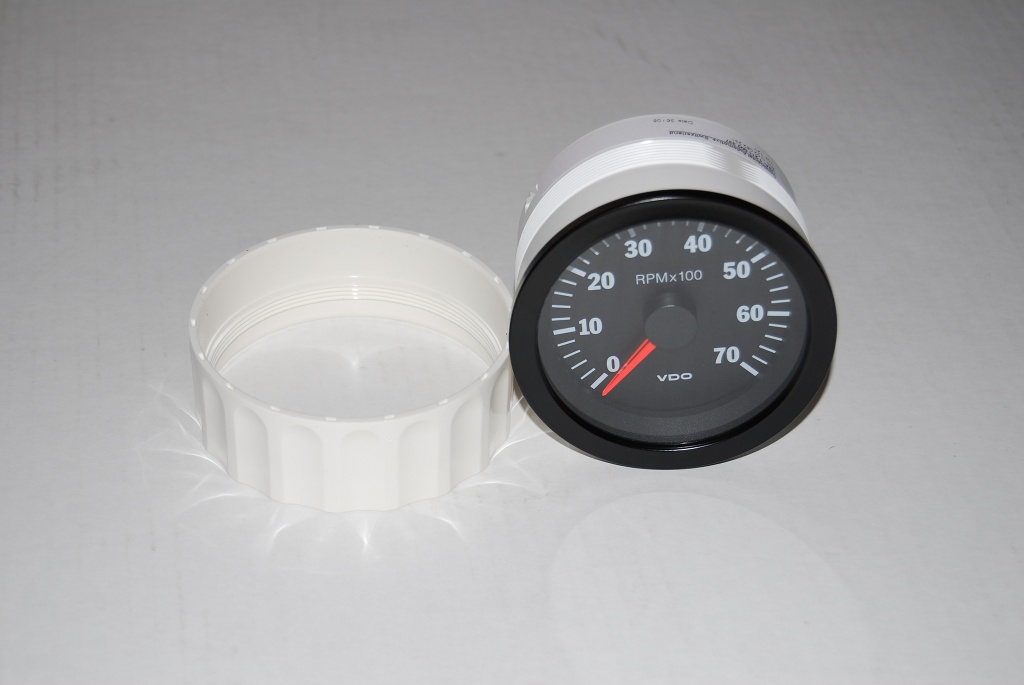
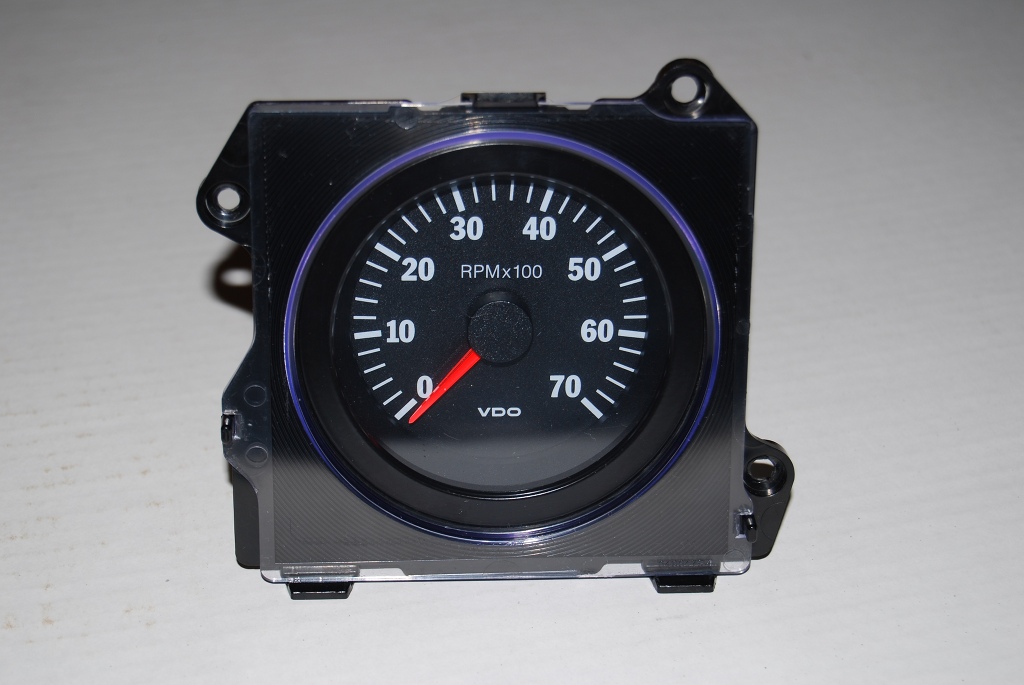
Here is the VDO tach I used. The ring mounting system is perfect for what I am doing here, and the white basic numbers on a black background **more or less** blend in with the stock style stuff. This one is 333-155, 3 3/8" diameter. They are inexpensive and work well.
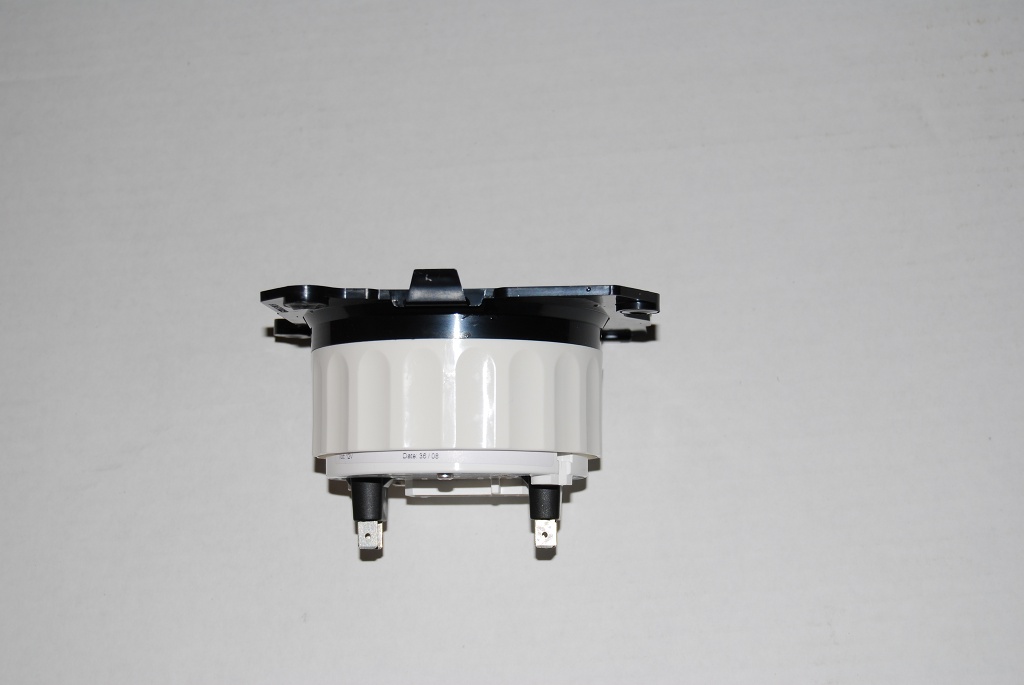
Here is a shot from the top showing the tach mounted with the ring butting up against the back edge of the blanking plate.
Ok so if you aren't fussy you can stop here, you have probably spent 15 minutes on this already. Some clear plate plastic cut to fit over this will look good as the tach sits flush with the face of the blanking plate. The stock plastic cover is recessed in the middle so will not fit on here, if you wish to use the stock style lens, read on.

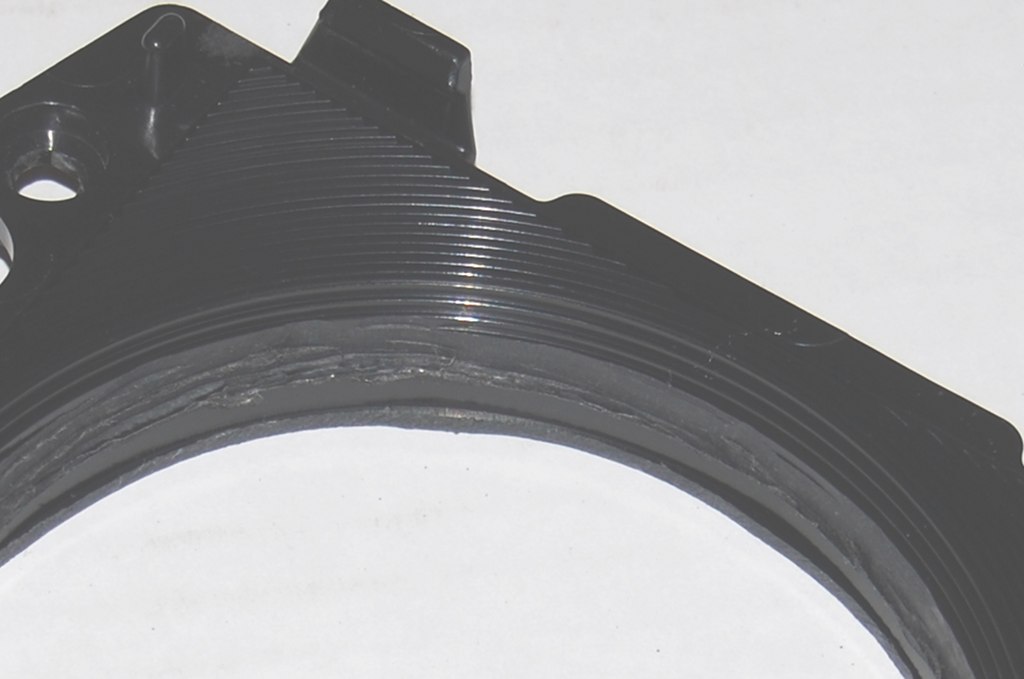
To get the stock lens to fit, the tach needs to be recessed into the blanking plate. I did this by screwing the plateto a piece of wood, then using a die grinder and carefully open the TOP INNER PART of the blanking plate. Don't need much, maybe 1/16" all around where it starts to slope inward. This allows the tach to sit down inside the opening somewhat. This is the first pass, notice how rough it is. Just try to make it even heightwise all around the opening. After this pic was taken, it was cleaned up a bit to even it out.
Notice how the tach now sits about 1/8" deeper. This allows the factory lens to snap into place, right over the tach glass and bezel.

And with stock lens snapped into place. Ready for mounting.
Installed in the car. Beside the factory gauges it looks kinda small. If a guy rally wanted to get crazy, you could pry the retaining bezel off the tach, put some silver foil on the need center to mimic the factory stuff, and move the numbers from the inside to the outside of the face. Regardless it looks reasonable. Lighting is almost a dead match to factory, the tach is damped and very easy to read. They also make (electric) speedometers and other gauges, so these blanking plates could be used to make a whole dash if you wish.
